
HOWTO: Classic, apt-based Ubuntu 16.04 LTS Server on the rpi2!

Dustin Kirkland
on 20 June 2016
Tags: Snap , snapcraft , Ubuntu Core
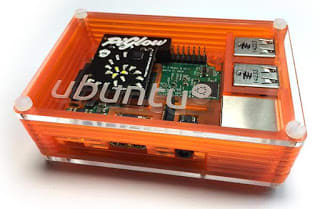
Classic Ubuntu 16.04 LTS, on an rpi2
Hopefully by now you’re well aware of Ubuntu Core — the snappiest way to run Ubuntu on a Raspberry Pi…
But have you ever wanted to run classic (apt/deb) Ubuntu Server on a RaspberryPi2?
Well, you’re in luck! Follow these instructions, and you’ll be up in running in minutes!
First, download the released image (214MB):
$ wget http://cdimage.ubuntu.com/releases/16.04/release/ubuntu-16.04.3-preinstalled-server-armhf+raspi2.img.xz
Next, uncompress it:
$ unxz *xz
Now, write it to a microSD card using dd. I’m using the card reader built into my Thinkpad, but you might use a USB adapter. You’ll need to figure out the block device of your card, and perhaps unmount it, if necessary. Then, you can write the image to disk:
$ sudo dd if=ubuntu-16.04-preinstalled-server-armhf+raspi2.img of=/dev/mmcblk0 bs=32M
$ sync
Now, pop it into your rpi2, and power it on.
If it’s connected to a USB mouse and an HDMI monitor, then you’ll land in a console where you can login with the username ‘ubuntu‘ and password ‘ubuntu‘, and then you’ll be forced to choose a new password.
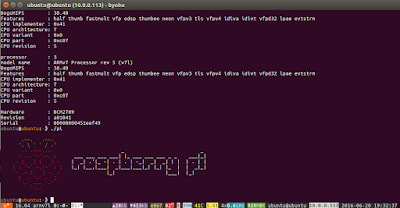
Assuming it has an Ethernet connection, it should DHCP. You might need to check your router to determine what IP address it got, or it sets it’s hostname to ‘ubuntu’. In my case, I could automatically resolve it on my network, at ubuntu.canyonedge, with IP address 10.0.0.113, and ssh to it:
$ ssh ubuntu@ubuntu.canyonedge
Again, you can login on first boot with password ‘ubuntu‘ and you’re required to choose a new password.
On first boot, it will automatically resize the filesystem to use all of the available space on the MicroSD card — much nicer than having to resize2fs yourself in some offline mode!
Now, you’re off and running. Have fun with sudo, apt, byobu, lxd, docker, and everything else you’d expect to find on a classic Ubuntu server 😉
Heck, you’ll even find the snap command, where you’ll be able to install snap packages, right on top of your classic Ubuntu Server! And if that doesn’t just bake your noodle…
Ubuntu cloud
Ubuntu offers all the training, software infrastructure, tools, services and support you need for your public and private clouds.
Newsletter signup
Related posts
Optimise your ROS snap – Part 6
Welcome to Part 6 of our “Optimise your ROS snap” blog series. Make sure to check Part 5. This sixth and final part will summarise every optimisation that we...
Optimise your ROS snap – Part 4
Welcome to Part 4 of our “optimise your ROS snap” blog series. Make sure to check Part 3 before. This fourth part is going to explain what dynamic library...
Optimise your ROS snap – Part 3
Welcome to Part 3 of our “optimise your ROS snap” blog series. Make sure to check Part 2. This third part is going to present safe optimisations consisting of...