
Running Kubernetes inside LXD

Stéphane Graber
on 20 February 2017
Tags: containers , k8s , kubernetes , LXD

Introduction
For those who haven’t heard of Kubernetes before, it’s defined by the upstream project as:
Kubernetes is an open-source system for automating deployment, scaling, and management of containerized applications.
It groups containers that make up an application into logical units for easy management and discovery. Kubernetes builds upon 15 years of experience of running production workloads at Google, combined with best-of-breed ideas and practices from the community.
It is important to note the “applications” part in there. Kubernetes deploys a set of single application containers and connects them together. Those containers will typically run a single process and so are very different from the full system containers that LXD itself provides.
This blog post will be very similar to one I published last year on running OpenStack inside a LXD container. Similarly to the OpenStack deployment, we’ll be using conjure-up to setup a number of LXD containers and eventually run the Docker containers that are used by Kubernetes.
Requirements
This post assumes you’ve got a working LXD setup, providing containers with network access and that you have at least 10GB of space for the containers to use and at least 4GB of RAM.
Outside of configuring LXD itself, you will also need to bump some kernel limits with the following commands:
sudo sysctl fs.inotify.max_user_instances=1048576
sudo sysctl fs.inotify.max_queued_events=1048576
sudo sysctl fs.inotify.max_user_watches=1048576
sudo sysctl vm.max_map_count=262144
Setting up the container
Similarly to OpenStack, the conjure-up deployed version of Kubernetes expects a lot more privileges and resource access than LXD would typically provide. As a result, we have to create a privileged container, with nesting enabled and with AppArmor disabled.
This means that not very much of LXD’s security features will still be in effect on this container. Depending on how you feel about this, you may choose to run this on a different machine.
Note that all of this however remains better than instructions that would have you install everything directly on your host machine. If only by making it very easy to remove it all in the end.
lxc launch ubuntu:16.04 kubernetes -c security.privileged=true -c security.nesting=true -c linux.kernel_modules=ip_tables,ip6_tables,netlink_diag,nf_nat,overlay -c raw.lxc=lxc.aa_profile=unconfined
lxc config device add kubernetes mem unix-char path=/dev/mem
Then we need to add a couple of PPAs and install conjure-up, the deployment tool we’ll use to get Kubernetes going.
lxc exec kubernetes -- apt-add-repository ppa:conjure-up/next -y
lxc exec kubernetes -- apt-add-repository ppa:juju/stable -y
lxc exec kubernetes -- apt update
lxc exec kubernetes -- apt dist-upgrade -y
lxc exec kubernetes -- apt install conjure-up -y
And the last setup step is to configure LXD networking inside the container.
Answer with the default for all questions, except for:
- Use the “dir” storage backend (“zfs” doesn’t work in a nested container)
- Do NOT configure IPv6 networking (conjure-up/juju don’t play well with it)
lxc exec kubernetes -- lxd init
And that’s it for the container configuration itself, now we can deploy Kubernetes!
Deploying Kubernetes with conjure-up
As mentioned earlier, we’ll be using conjure-up to deploy Kubernetes.
This is a nice, user friendly, tool that interfaces with Juju to deploy complex services.
Start it with:
lxc exec kubernetes -- sudo -u ubuntu -i conjure-up
- Select “Kubernetes Core”
- Then select “localhost” as the deployment target (uses LXD)
- And hit “Deploy all remaining applications”
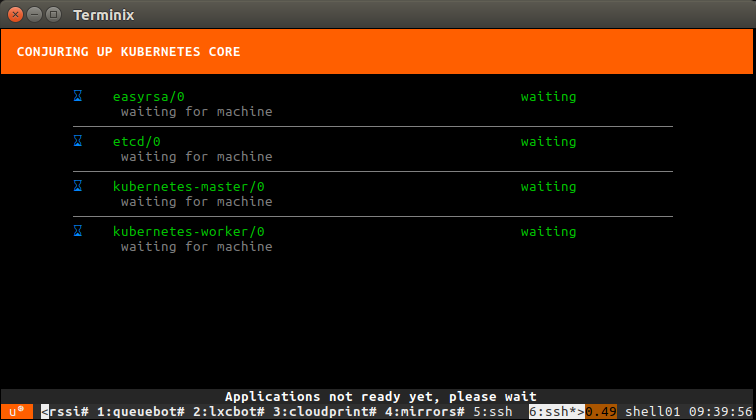
This will now deploy Kubernetes. The whole process can take well over an hour depending on what kind of machine you’re running this on. You’ll see all services getting a container allocated, then getting deployed and finally interconnected.
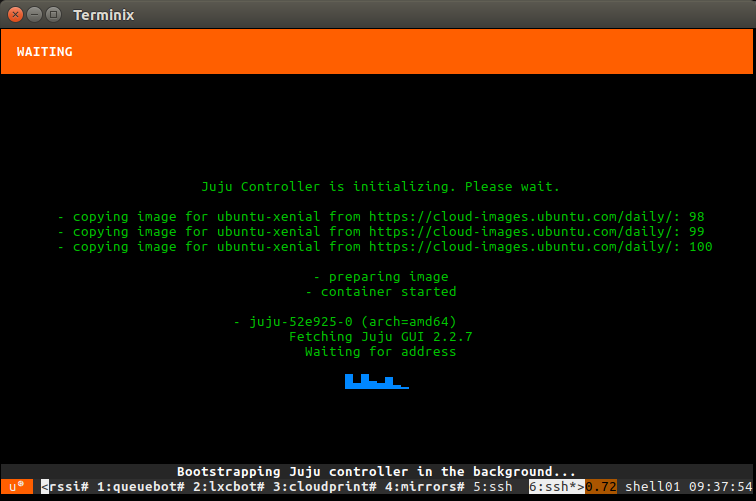
Once the deployment is done, a few post-install steps will appear. This will import some initial images, setup SSH authentication, configure networking and finally giving you the IP address of the dashboard.

Interact with your new Kubernetes
We can ask juju to deploy a new kubernetes workload, in this case 5 instances of “microbot”:
ubuntu@kubernetes:~$ juju run-action kubernetes-worker/0 microbot replicas=5
Action queued with id: 1d1e2997-5238-4b86-873c-ad79660db43f
You can then grab the service address from the Juju action output:
ubuntu@kubernetes:~$ juju show-action-output 1d1e2997-5238-4b86-873c-ad79660db43f
results:
 address: microbot.10.97.218.226.xip.io
status: completed
timing:
 completed: 2017-01-13 10:26:14 +0000 UTC
 enqueued: 2017-01-13 10:26:11 +0000 UTC
 started: 2017-01-13 10:26:12 +0000 UTC
Now actually using the Kubernetes tools, we can check the state of our new pods:
ubuntu@kubernetes:~$ ./kubectl get pods
NAME READY STATUS RESTARTS AGE
default-http-backend-w9nr3 1/1 Running 0 21m
microbot-1855935831-cn4bs 0/1 ContainerCreating 0 18s
microbot-1855935831-dh70k 0/1 ContainerCreating 0 18s
microbot-1855935831-fqwjp 0/1 ContainerCreating 0 18s
microbot-1855935831-ksmmp 0/1 ContainerCreating 0 18s
microbot-1855935831-mfvst 1/1 Running 0 18s
nginx-ingress-controller-bj5gh 1/1 Running 0 21m
After a little while, you’ll see everything’s running:
ubuntu@kubernetes:~$ ./kubectl get pods
NAME READY STATUS RESTARTS AGE
default-http-backend-w9nr3 1/1 Running 0 23m
microbot-1855935831-cn4bs 1/1 Running 0 2m
microbot-1855935831-dh70k 1/1 Running 0 2m
microbot-1855935831-fqwjp 1/1 Running 0 2m
microbot-1855935831-ksmmp 1/1 Running 0 2m
microbot-1855935831-mfvst 1/1 Running 0 2m
nginx-ingress-controller-bj5gh 1/1 Running 0 23m
At which point, you can hit the service URL with:
ubuntu@kubernetes:~$ curl -s http://microbot.10.97.218.226.xip.io | grep hostname
 <p class="centered">Container hostname: microbot-1855935831-fqwjp</p>
Running this multiple times will show you different container hostnames as you get load balanced between one of those 5 new instances.
Conclusion
Similar to OpenStack, conjure-up combined with LXD makes it very easy to deploy rather complex big software, very easily and in a very self-contained way.
This isn’t the kind of setup you’d want to run in a production environment, but it’s great for developers, demos and whoever wants to try those technologies without investing into hardware.
Extra information
The conjure-up website can be found at: http://conjure-up.io
The Juju website can be found at: http://www.ubuntu.com/cloud/juju
The main LXD website is at: https://linuxcontainers.org/lxd
Development happens on Github at: https://github.com/lxc/lxd
Mailing-list support happens on: https://lists.linuxcontainers.org
IRC support happens in: #lxcontainers on irc.freenode.net
Try LXD online: https://linuxcontainers.org/lxd/try-it

What is Kubernetes?
Kubernetes, or K8s for short, is an open source platform pioneered by Google, which started as a simple container orchestration tool but has grown into a platform for deploying, monitoring and managing apps and services across clouds.
Newsletter signup
Related posts
Implementing an Android™ based cloud game streaming service with Anbox Cloud
Since the outset, Anbox Cloud was developed with a variety of use cases for running Android at scale. Cloud gaming, more specifically for casual games as...
Canonical accelerates AI Application Development with NVIDIA AI Enterprise
Charmed Kubernetes support comes to NVIDIA AI Enterprise Canonical’s Charmed Kubernetes is now supported on NVIDIA AI Enterprise 5.0. Organisations using...
How should a great K8s distro feel? Try the new Canonical Kubernetes, now in beta
Try the new Canonical Kubernetes beta, our new distribution that combines ZeroOps for small clusters and intelligent automation for larger production...